Here is a simple guide on setting up an IMAP account in Outlook 365.
Step 1:
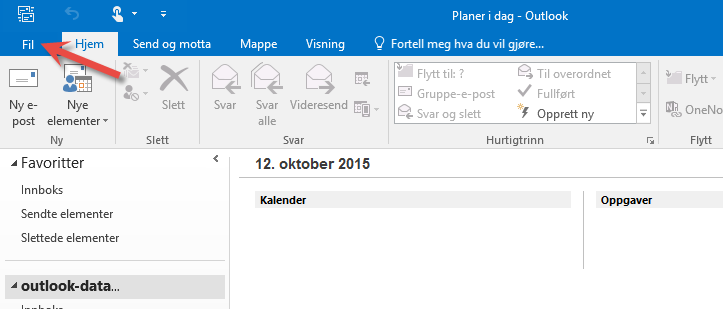
Select “File” at the top of the Outlook menu.
Step 2:
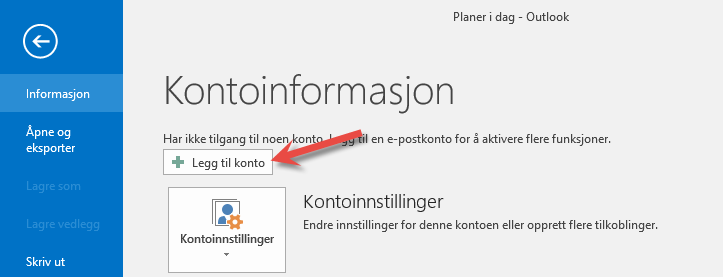
Select “Add account”.
Step 3:
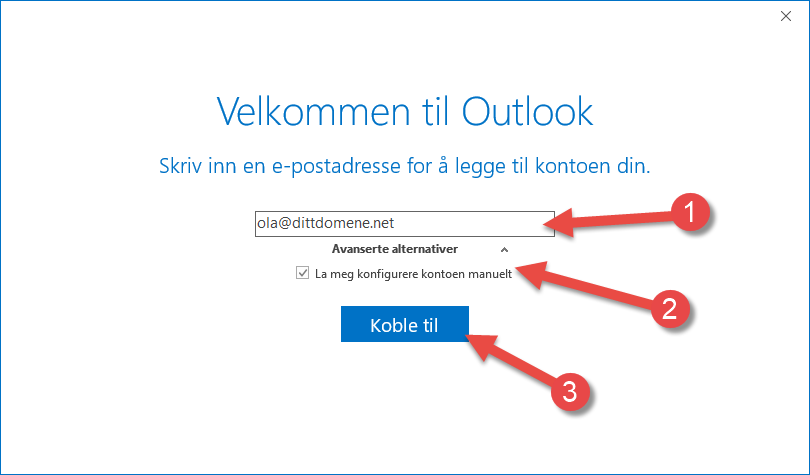
- Enter your email address.
- Select “Advanced options” and tick “Let me set up my account manually”
- Press “Connect”.
Step 4:
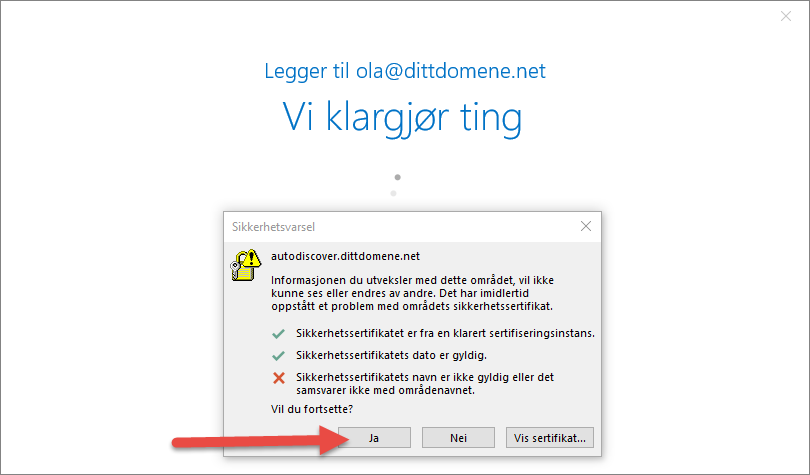
Outlook will try to find correct information based on your username. There will be a warning about a mismatch of the SSL certificate and it must be allowed to use a secure connection. If you have your own SSL for your domain name, you will not receive the warning.
Press “Yes” to continue.
Step 5:
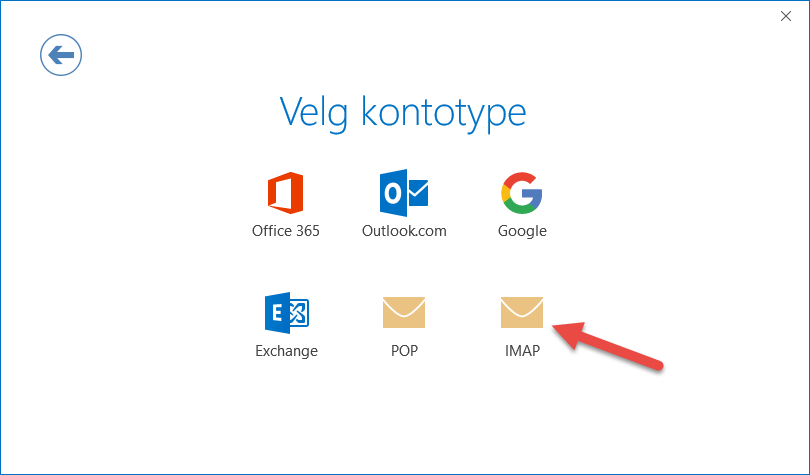
Select IMAP under account type.
Step 6:
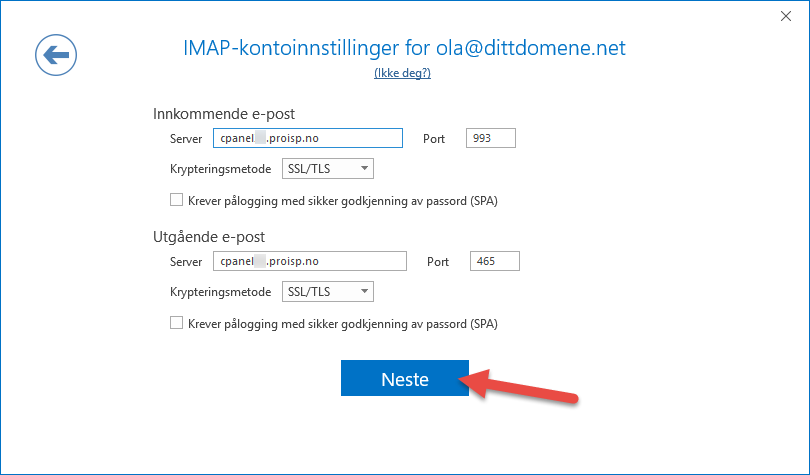
Outlook will find the correct information automatically. If not, you can use the setup below and replace it with your server name, which you will find in our e-mail.
Press “Next” to continue.
Step 7:
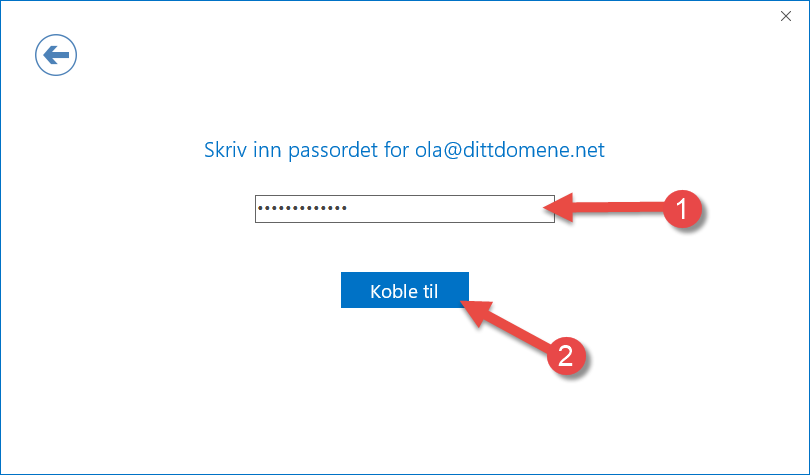
- Enter the password for the email account.
- Press “Connect”.
Step 8:
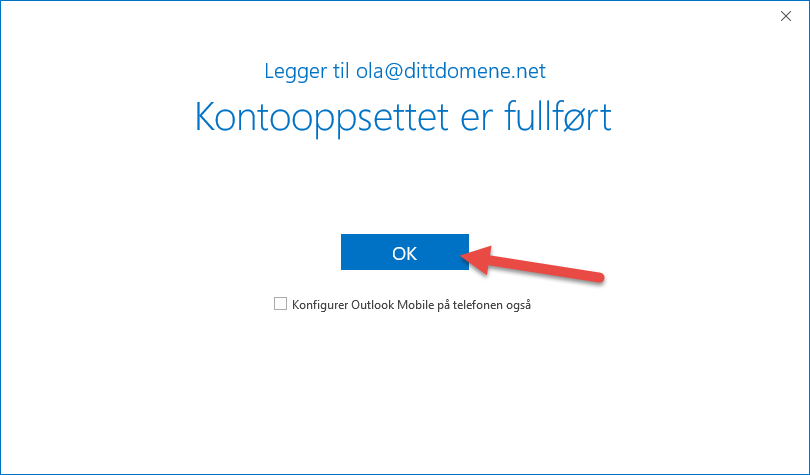
The account setup is then complete.
Press “Ok”.
Finished
You can now send/receive email with Outlook.
Sources:
Original guide from PRO ISP
